Introduction to Email
In this lesson you will encounter easiest
to use Email program, Google G-Mail.
Email is a process of sending a private letter from your
email account over the Internet to another person's
account.
Objectives
1. Become familiar with the Google Windows.
environment. Use the tool bar buttons in G-Mail.
2. Display and work with Email - Inbox, Sent and Trash.
3. Learn to read, write, send and delete messages.
4. Learn how to use an address book for contacts.
5. Learn to attach a file to an Email message.
G-mail Functions
To Send an E-Mail You Must Gain Access to the Electronic Mail Screen
1. Locate G-mail icon and point the cursor in center of icon and left click twice. (See a small circle revolving icon which indicates the program is being activated.)
2. G-mail screen will appear. Point the cursor on “Username”box and enter your e-mail Login name using all lower case letters and no spaces. Do not add @gmail.com.
3. Enter your “Password” using all lower case letters and no spaces.
4. Left click on the “Sign in” box.
5. Note: Only put a check in the “stay signed in”, if you are using your own computer.
6. The next screen to appear will allow you to use all the functions of electronic mail.
How to Make a List of Contacts
Before sending an e-mail, it is wise to create an address book of friends, family and co-workers to facilitate the sending of your mail. Here’s how to do it:
To add a Contact:
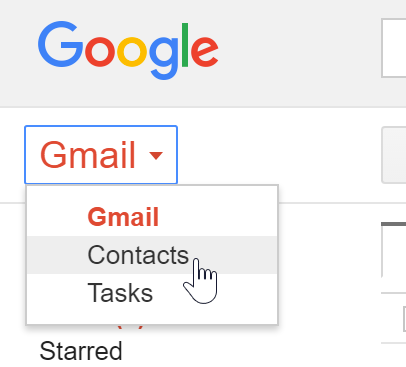
- In the Gmail drop-down menu, select Contacts.
- Your contacts screen will appear. Click
- Add new contact.


- Type the person's Name or Email address. If they have a Google+ profile, it may appear below. Click Create to add the contact.
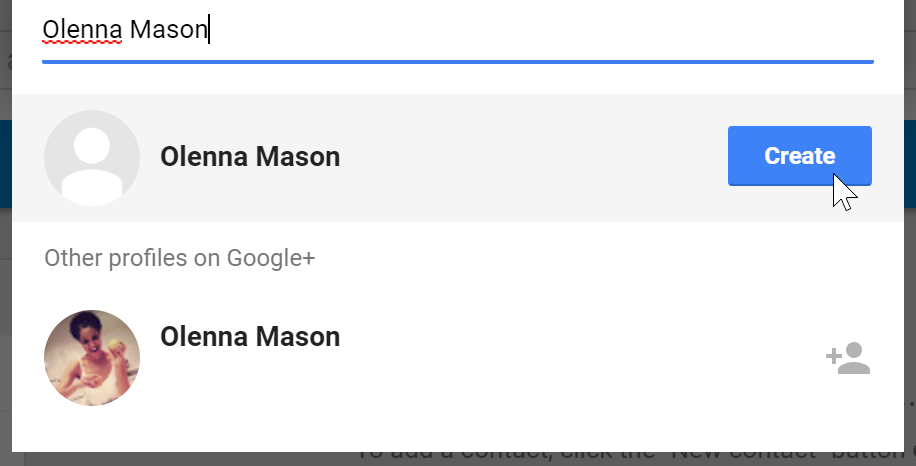
- You can also type additional contact information if desired. All changes you make will be Saved automatically.
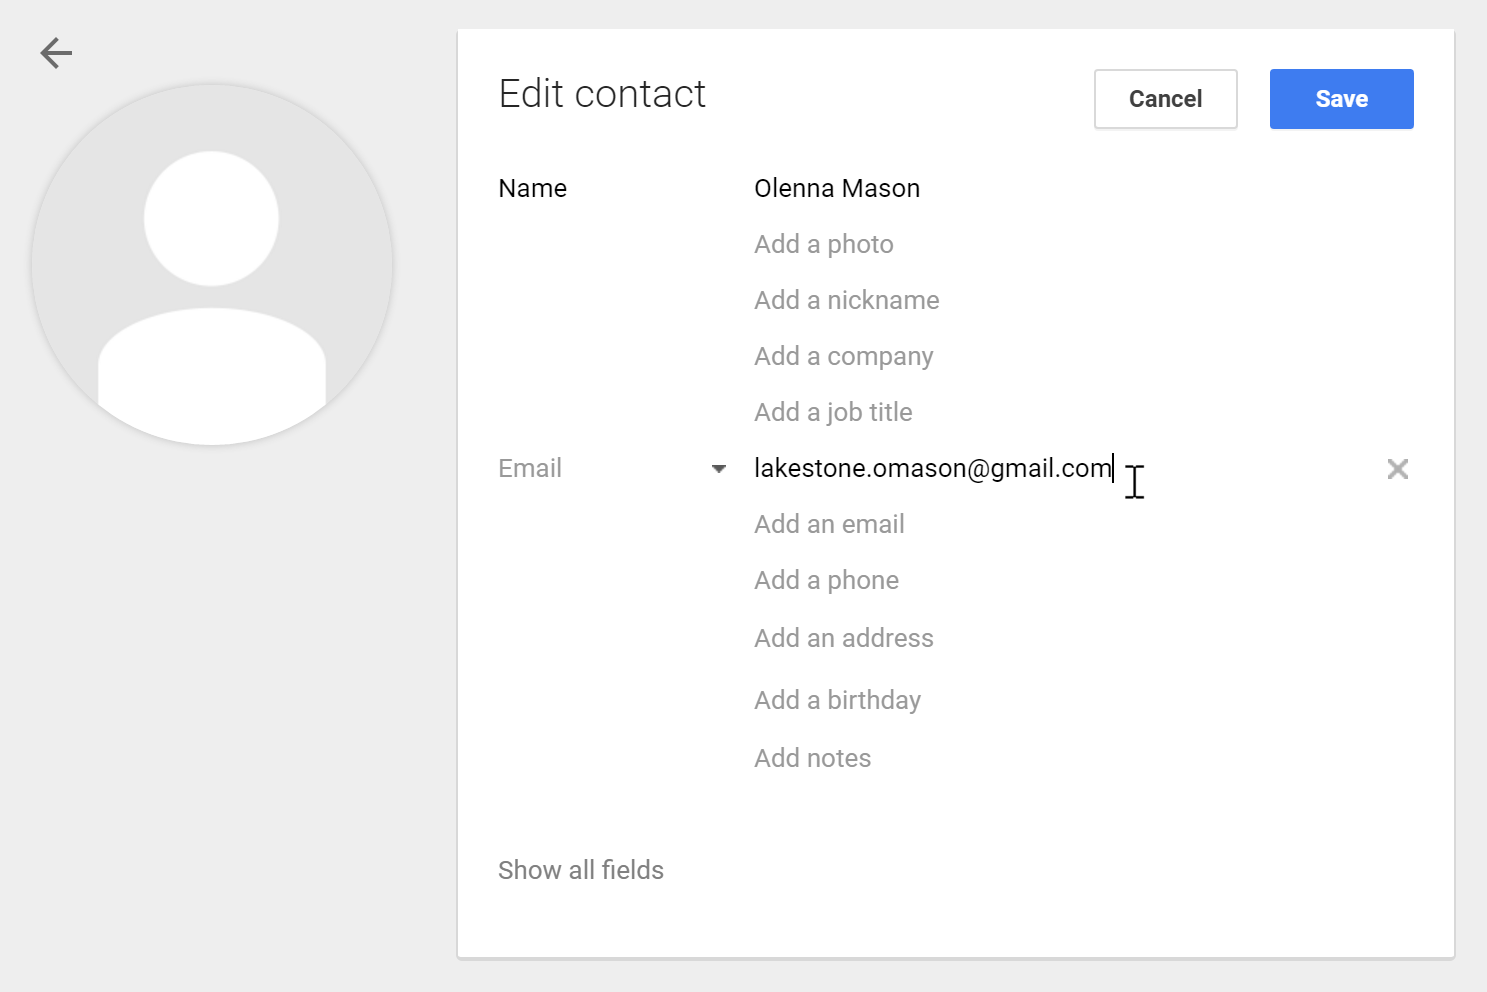
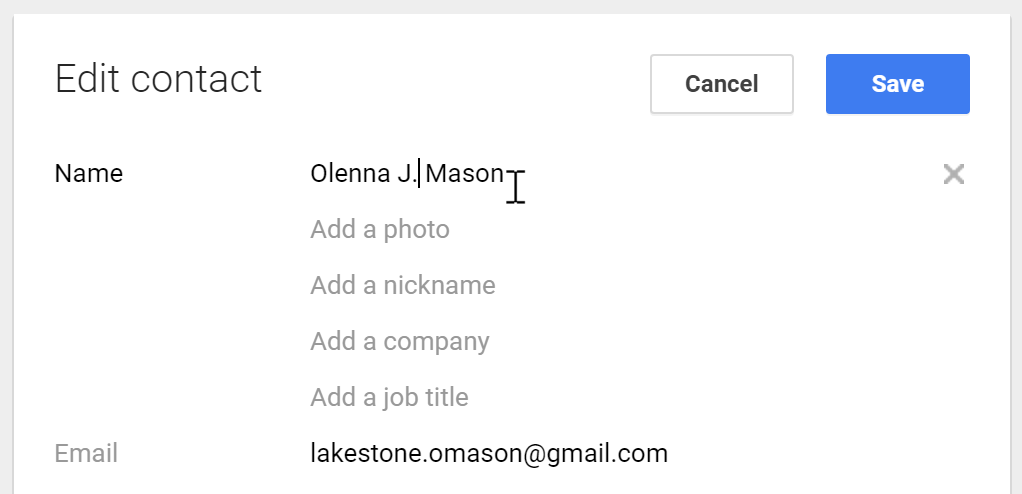
To Edit a Contact:
- In the Gmail drop-down menu, select Contacts.
- Click the contact you want to edit.
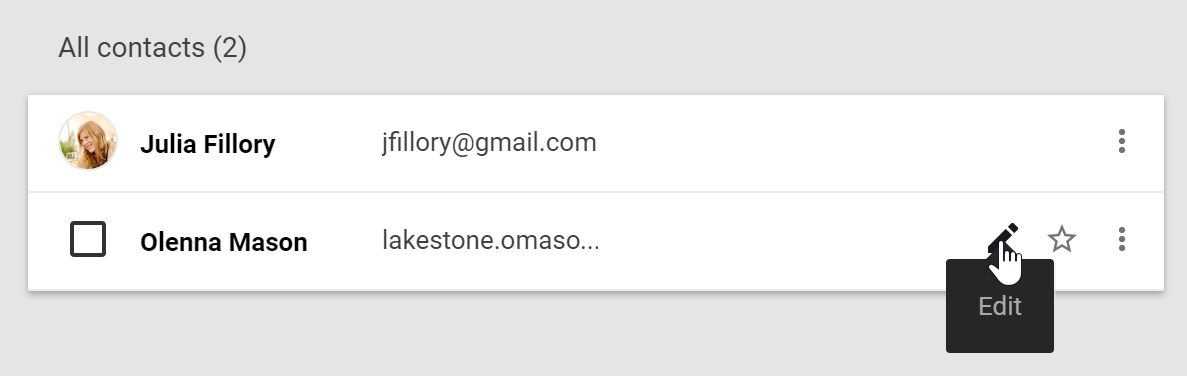
- You can now make any Changes you want to the contact.
By default, when you send an email to a new address, Gmail adds the address to your contacts. You can then go to your contacts to Edit the person's information as needed.
Importing Mail and Contacts
You may already have a contact list from another email address, and it would be a lot of work to re-enter all of this information manually. Gmail allows you to import your contacts from another email account, and you can even import all of your email messages from that account. Several email providers are supported, including
Yahoo!, Hotmail, and AOL.
Yahoo!, Hotmail, and AOL.
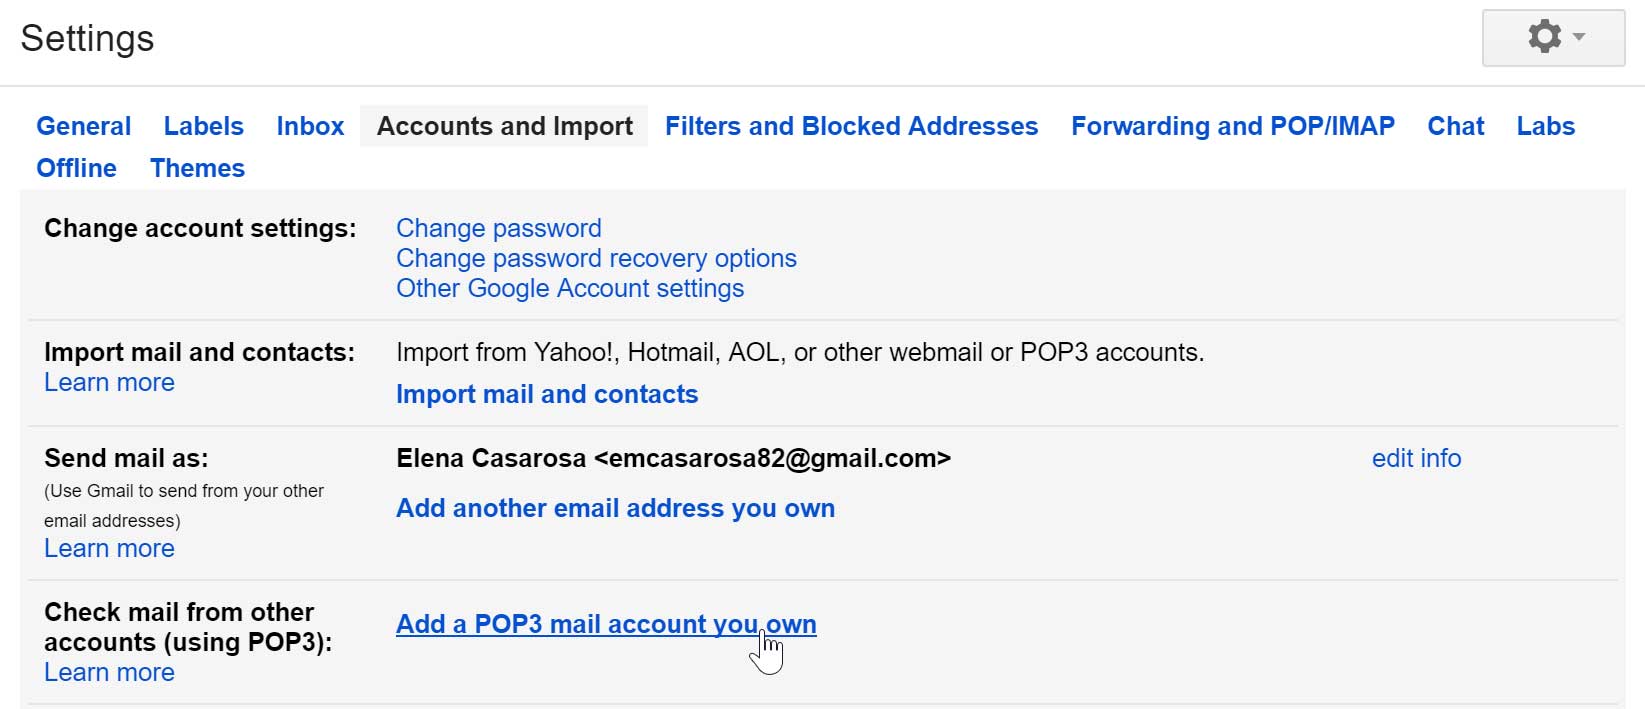
To Add other Accounts:
- Click the gear icon in the top-right corner of the page, then select Settings.
- Go to Accounts and click Add a Email account you own. You can then follow the instructions on the screen to import your mail.
Sending Email
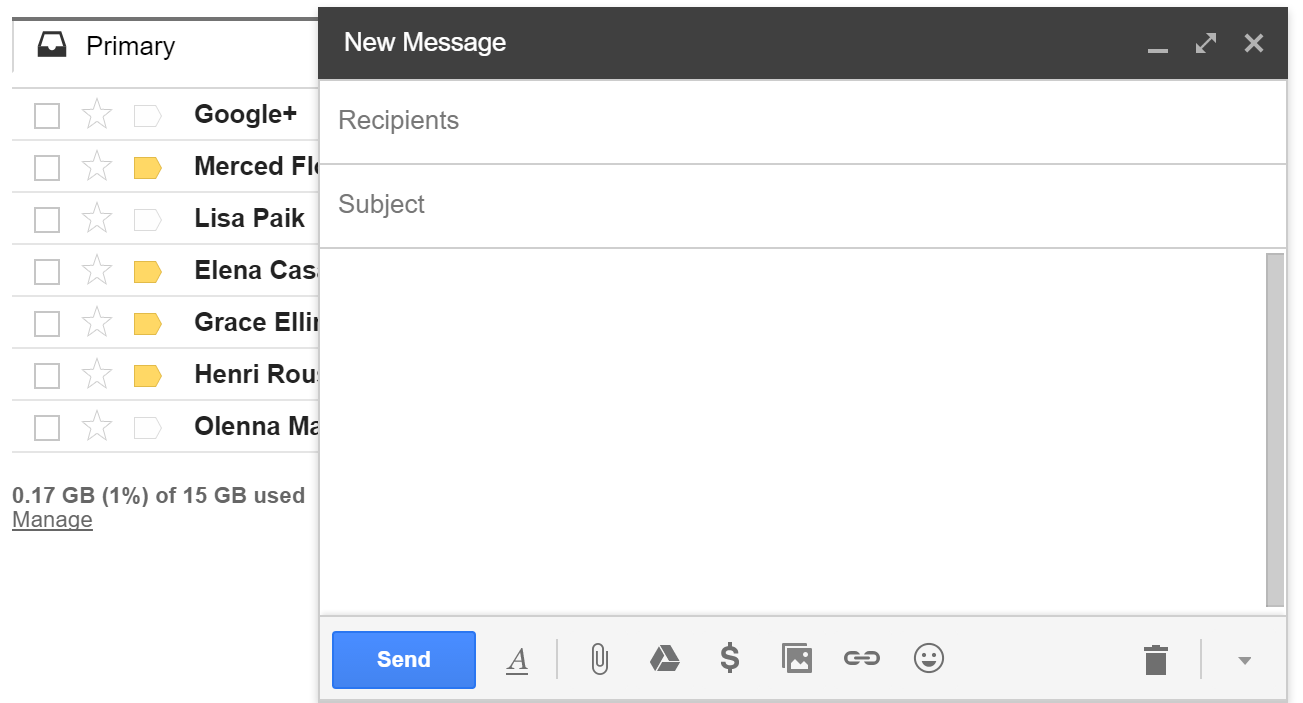
The Compose Button
Recipients
Recipients are the people you are sending the email to. You will need to type the Email address for each recipient. Most of the time, you'll add recipients to the To: field, but you can also add recipients to the Cc: or Bcc: fields.
Cc and Bcc
Cc stands for Carbon copy. This is used when you want to send an email to someone who are not the main recipient. This helps to keep these people in the loop while letting them know that they probably don't need to reply to your message. Bcc stands for Blind carbon copy. It works almost the same way as Cc, except that all of the email address in the Bcc fields are hidden, making it ideal when emailing a large number of recipients or when privacy is needed.
Subject
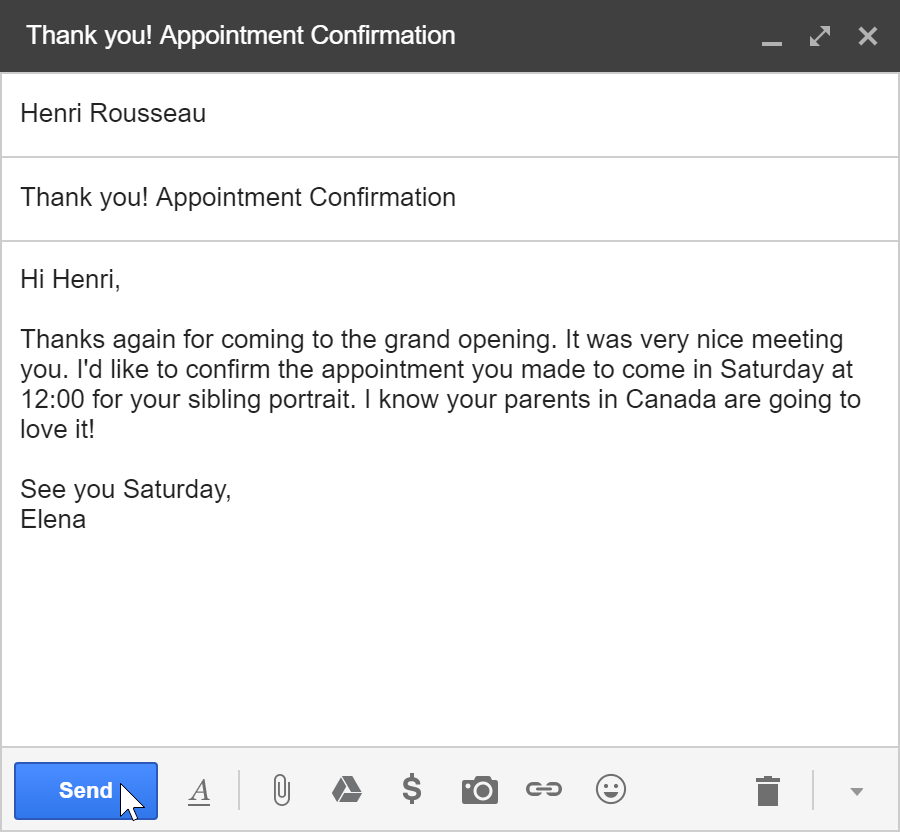
The Subject should say what the email is about. Keep the subject brief, but give the recipients a reasonable idea of what's in the message.
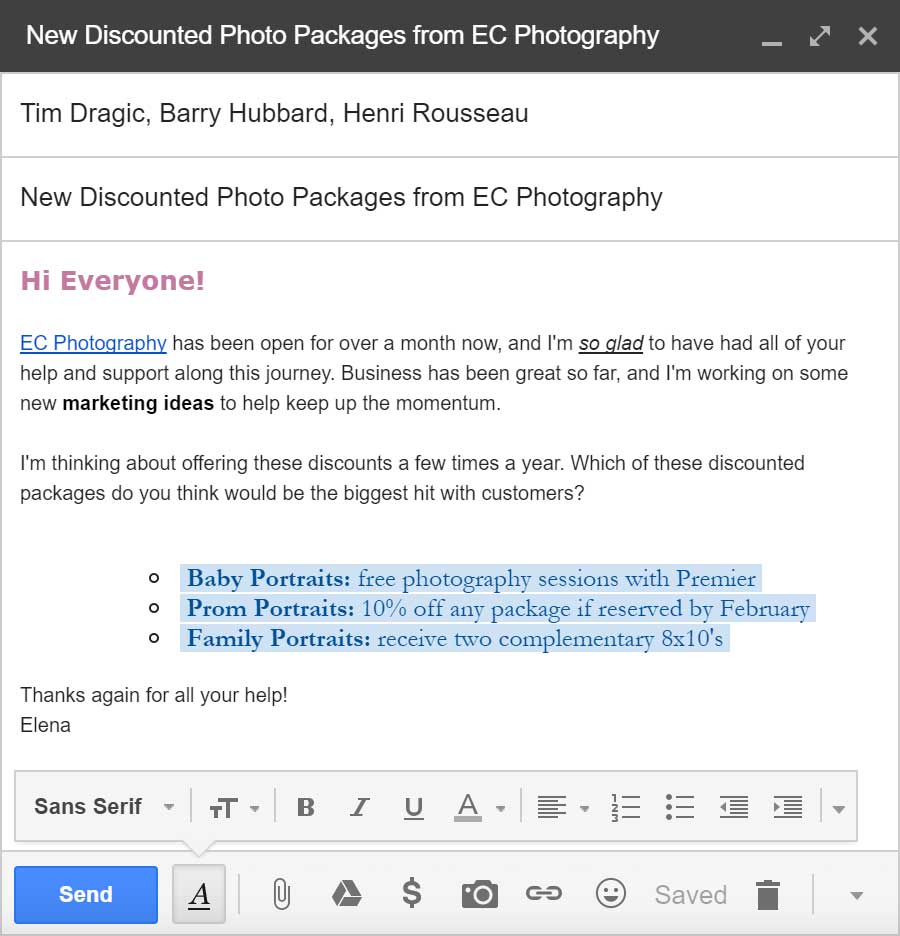
Body
The Body is the actual text of the email. Generally, you'll write this just like a normal letter, with a greeting, one or more paragraphs, and a closing with your name.
Send Button
When you are satisfied with your message, click Send to send it to the recipients.
Formatting Options
Click the Formatting button to access formatting options. Formatting allows you to change the look and feel of your message. For example, you can change the font style, size, and color, as well as include links.
Add Attachment
An Attachment is a file (like an image or a document) that is sent along with the email message. Gmail allows you to include multiple attachments. Click the attachment button to include an attachment with the email.

To Send an Email:
- In the left menu pane, click the Compose button.
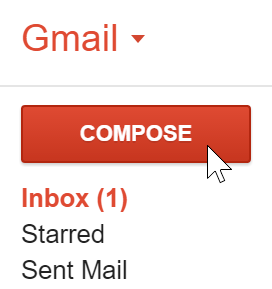
- The Compose window will appear in the lower-right corner of the page.
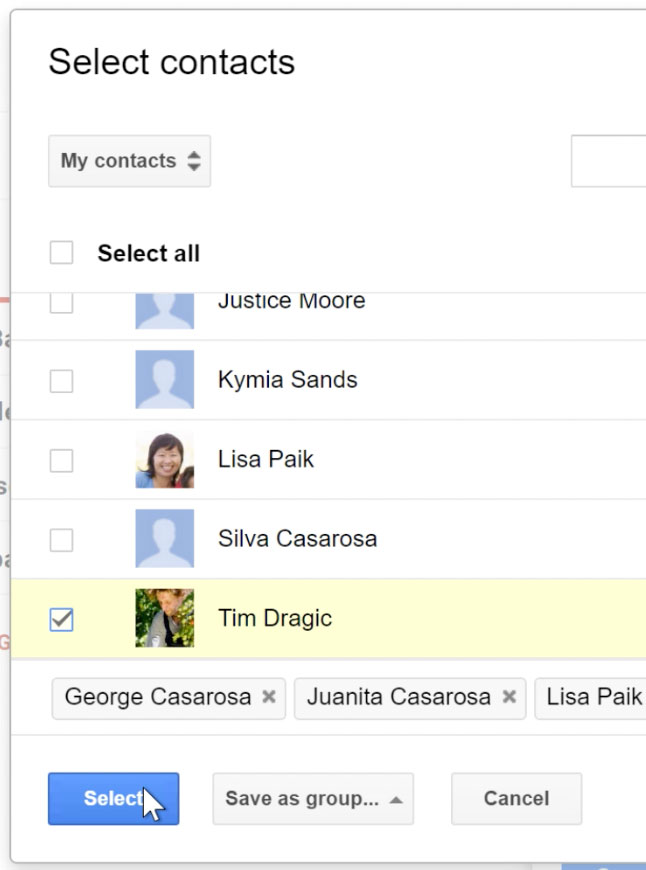
- You'll need to add one or more Recipients to the To: field. You can do this by typing one or more Email addresses, separated by commas, or you can click To to select recipients from your Contacts, then click Select.
- Type a Subject for the message.
- In the Body field, type your message. When you're done, click Send.
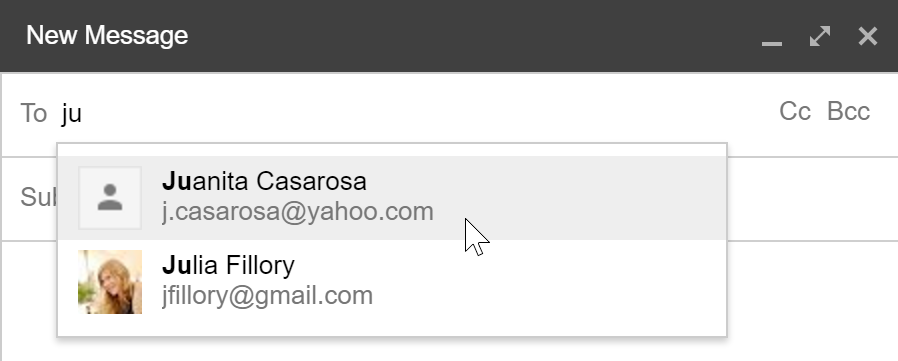
If the person you are emailing is already one of your contacts, you can start typing that person's First name, Last name, or Email address, and Gmail will display the contact below the To: field. You can then press the Enter key to add the person to the To: field.
Adding Attachments
An Attachment is simply a File (like an image or document) that is sent along with your email. For example, if you are applying for a job, you might send your Resume as an attachment, with the body of the email being the cover letter. It's a good idea to include a message in the body of your email explaining what the attachment is, especially if the recipient isn't expecting an attachment.
Remember to attach your file before you click Send. Forgetting to attach a file is a surprisingly common mistake.
To add an Attachment:
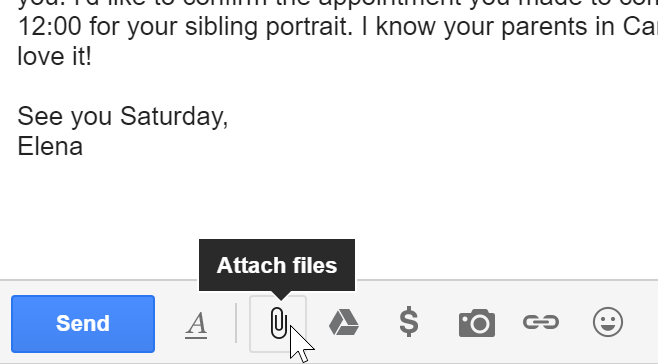
- While composing an email, click the Paperclip icon at the bottom of the compose window.
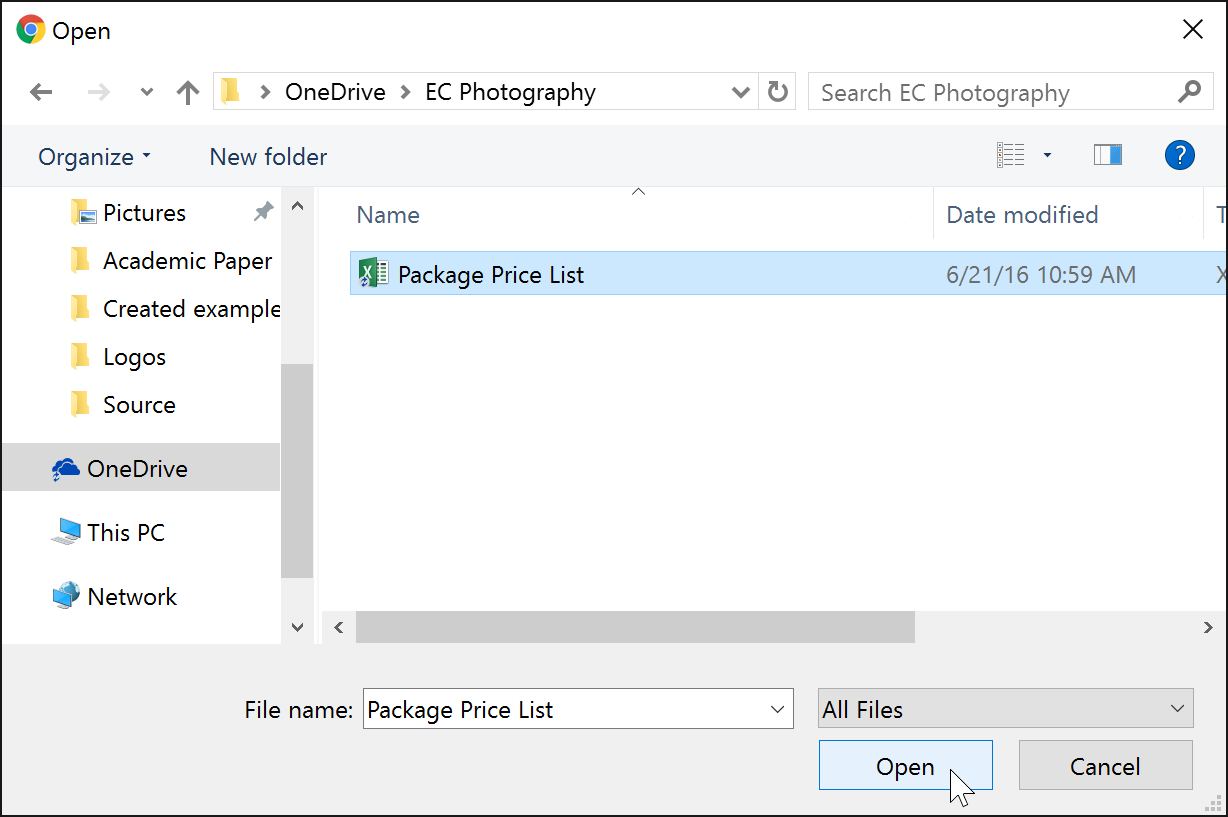
- A file upload dialog box will appear. Choose the file you want to attach, then click Open.
- The attachment will begin to upload. Most attachments will upload within a few seconds, but larger ones can take longer.
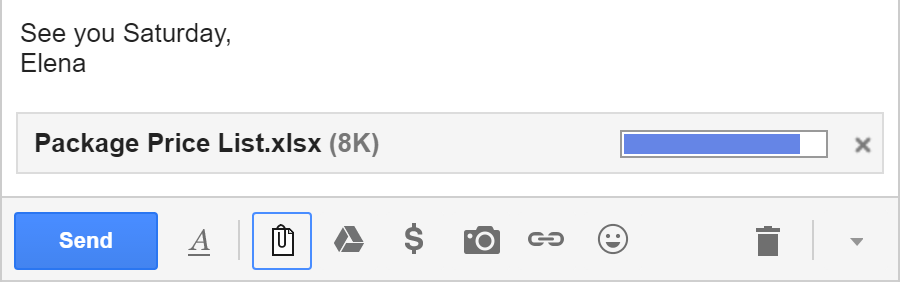
- When you're ready to send your email, click Send.
You can click Send before the attachment finishes uploading. It will continue to upload, and Gmail will automatically send the email once it's done.
Email formatting
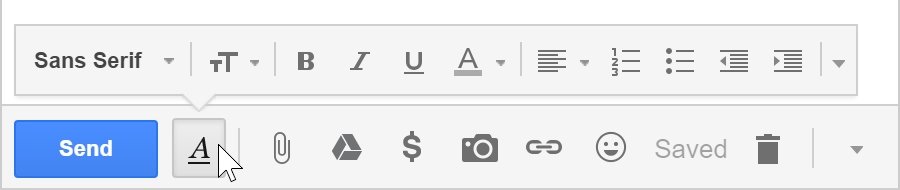
Gmail allows you to add various types of Formatting to your text.
Click the Formatting button at the bottom of the compose window to see different formatting options.
Sending Copies or Blind Copies
1. To send a “copy”to another person, left click on the “Add Cc”. Start typing the name as in instruction 2 above.
2. To send a “blind copy”to another person, left click on the “Add Bcc”. Start typing the name as in instruction 2 above. This name does not appear on the listing sent to the others.
3. Now type the email address of another person.
When you are finished you left click on “Send”.
4.Now for practice, type and “Send” a different individual Email to each of your “Contacts”.
Reading messages received
Select Inbox to view new Email. To select and open a new message that you have received, left click on the line and the message will open for reading and printing. Back to the Inbox is in the upper left of the pane to go back to the listing of Emails. The Emails you have read will be highlighted in “Grey”.

Opening an E-Mail
1. Point the “Hand” on the line with the name of the sender and make one left click.
2. Now that the e-mail is open and you have read it by moving the cursor to the extreme right and scrolling down with a left click, decide the distribution of this e-mail (Note: the print color of the type writing of an e-mail changes to a lighter color after it has been opened.)
Distribution of Read E-mails
1. To remove an open E-mail, point the “Hand” on delete box and make one left click.
2. To eliminate an E-mail from the “Inbox”, point the arrow at the check box to mark the Email for deletion. The line will become “highlighted in yellow”. Point the “Hand” on the delete box and make one left click.

Deleting messages
It is a good idea to delete messages that you have no reason to keep since they take up space on your account. Deleted E-mails go to the “Trash”.
1. Select a message to delete by left clicking on the “Selection box” to put a “Check mark”on it and hit the “Delete button”. This will delete the message andput it in the “Trash”.
2. Select the another message to delete and delete it as you did the first one.
3. Nowthat we have deleted two messages, please display the “Trash” folder by left clicking on the “Trash” line on the first column. If you don’t see it,look in “6 More”. You can include it on the main list by left clicking, holding (Drag& Drop) and releasing on the main list.
4. Your deleted messages will now appear there. You can permanently delete them by “Checking” them and then “Deleting”. They are completely gone when you do this. They will also be automatically and permanently deleted from “Trash” in 30 days.
Read and reply to a message
1. Left click on the “Inbox”folder.
2. Left click on the “Message header” line of the message you want to read to display the details of the message.
3. View the “Toolbar” to see all of the actions you can take in regard to a message.
4. You can “Reply” to the sender, using the Drop down list, you can also “Reply to all”, “Forward”,“Filter”, and “Print” the message. You can also add the sender’s Email address to your “Contacts”.
5.Left click on the “Reply”button on the Toolbar, and a reply window is opened. The email address of the person who sent the message to you is automatically placed in the “To:” text box
6. The subject of the message is placed in the “Subject:” text box (RE: reply to this).
7. The text of the original message that was sent appears in the “Message text box”.
8. The “insertion point” is in the “message” text box. Type a “reply message”in the “message box” to respond to the email you received. Left click on the “Send” button. You can follow similar steps to “forward” a message to a third person.
Use your Contacts Book to send an E-Mail
Using your contacts address book reduces the chance of incorrect Email addresses, which results in your messages not being delivered.
1. To begin, left click on “Compose Mail”and then on “Contacts”.
2. Select the “Group” and a “list of the names” from your “Address Book” will appear. Left click on the box to mark the box of the actual “Recipients” you want to receive your mail.
3. Under the number of contacts selected in the upper right of the screen, left click on “Email”. All of the selections you made are placed in the “To:”box of your new Email being “Composed”.
4. If you want to copy someone else left click the “CC”and a “CC” box will appear for you to enter an Email name. Left click on “BCC”button (to “blind copy” the person so that only the person who receives the blind copy knows that they were copied on the message).
5. Go to the message section and type in your text and when you have finished cleft lick on the “Send”button.
Copy a file into the Text of your Email
If you want to “Copy” an article that you have drafted in your word processing program into the Text area of your email, it can be done with “Highlight,Copyand Paste”.
1. Left click on the “Compose Mail” button on the “Toolbar”. Fill in the “To Box” and the “Subject Box”.Left click on the “Text Box”and with the curser blinkingon the first line, left click the “(-) Minimize”window button.
2. Double click on the “Yellow Mouse Icon”to open the Program to the main menu page.
3. Hold down the “Ctrl key” on the keyboardand press the “A” key. This highlight the page.
4. Hold down the “Ctrl key”on the keyboard and press the “C” key. This copies the page.
5. Maximize the Gmail Compose window.
6. Hold down the “Ctrl key”on the keyboard and press the “V” key. This pastes the page into the text area of your Email.
Note: You can use this same procedure to copy a letter, a recipe from a Web site or an article from an online newspaper.
Other Features of G-Mail
1. Starred: This gives you the ability to mark an Email with a star so you can find important E mails.
2. Chats: You can send Instant messages to others in your contact list that have designated their name with a “Green Light”on your “Chat Window”.
3. Sent Mail:All the Emailsthat you sent are listed here. They stay here unless you “Delete”them in the normal fashion.
4. Drafts:You can save an unfinished Email as a “Draft” and go back and finish and “Send” it later.
5. All Mail:This allows you to deal with all mail in one area to send it to “Trash”.
6. Spam:Gmail put Emails from those “unknown” and “unwanted” in this folder.
7. Trash:All deleted Emails go through the “Trash folder”
Closing Down Your E-Mail
When you are all finished working on your Email Click the “Sign Off” button. Click on the in the upper right corner of your screen.
You have returned to the Desktop.
Now you can:
1. Read and write email messages
2. Create new messages
3. Reply to an Email message
4. Forward an Email message
5. Use a Contact Address Book
6. Attach a Picture or File
7. Insert a text into an Email message